
I’m excited to kick off the new week with a CAMPING themed birthday party that was an absolute blast! And that’s exactly what a party is supposed to be, right?!
My son Gavin's favorite show of the moment is Disney's "Gravity Falls." He also just became a cub scout so when he asked for a camping themed birthday party I was not surprised. I am not what you would call (err...) the best camper so I had to dig deep on this one. THE MODELS
Xander Wren, Renya Morrissey, and Gavin Morrissey (the birthday boy!)


THE FAVORS
This was such a fun adventure for Gavin & his guests at
“Gavin’s Camp Run-A-Muk“, where our campers were greeted with
their gear packs (complete with canteens, mini binoculars, compasses, flashlights & more!) Keeping with the "Gravity Falls" theme I stencil painted the signature tree on the packs.

I also made buttons for the kids that said, "I like to go camping at Gavin's Camp Run-A-Muk."


THE ACTIVITIES
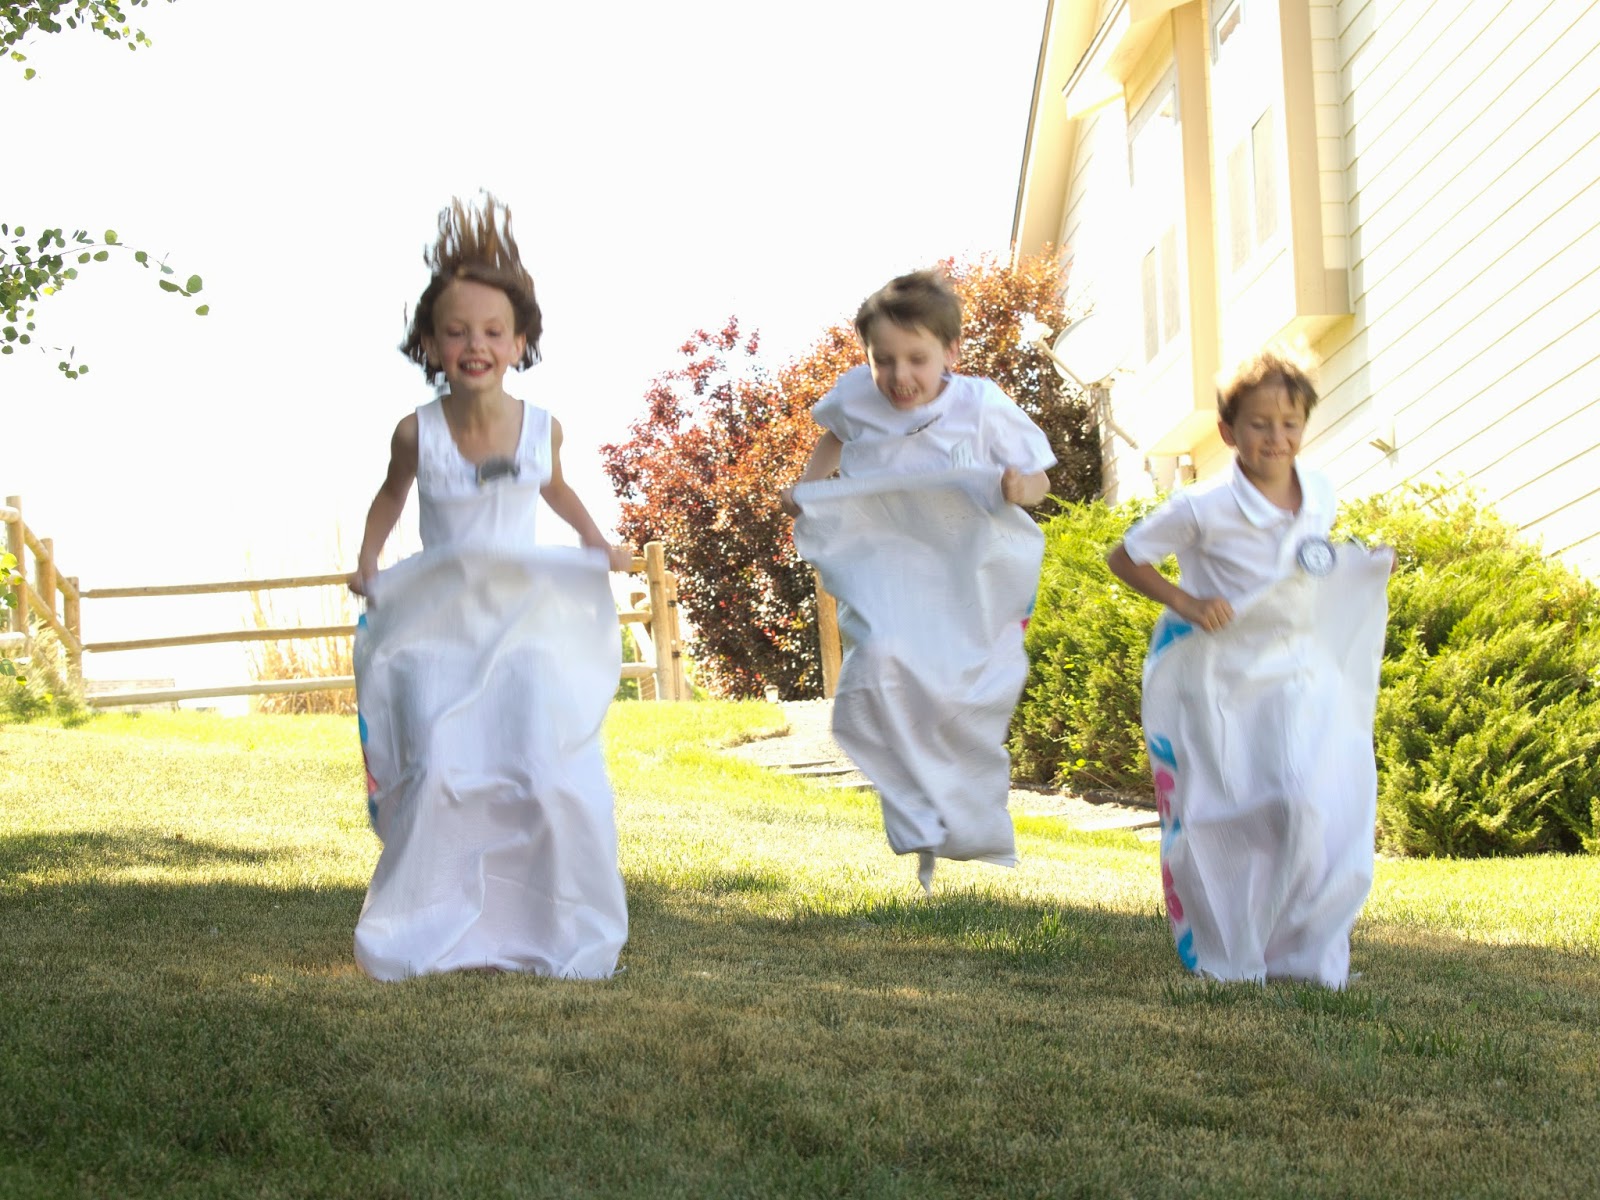
A trick that I've learned with sleepover parties is to sugar the kids up and then wear them out early so that they go to bed at a reasonable hour. And it worked because all 10 kids were fast asleep by 12:00 am! To achieve this we did a bunch of camp-style relay games (sack race, 3-legged race, etc), tug of war, musical lawn chairs, and more!
A trick that I've learned with sleepover parties is to sugar the kids up and then wear them out early so that they go to bed at a reasonable hour. And it worked because all 10 kids were fast asleep by 12:00 am! To achieve this we did a bunch of camp-style relay games (sack race, 3-legged race, etc), tug of war, musical lawn chairs, and more!
The scavenger hunt was also a bit hit. I came up with a list of nature type things that the kids could find in our yard.


I always try to come up with some kind of craft for the kids to do. I knew that I wanted them to make bandana's so I created an outline cartoon design and had Spoonflower print it on fabric. I cut the fabric into 20”x20”
squares for bandana’s and the kids used fabric markers to color them in.

At the end of the night the kids told "scary" campfire stories. It was so adorable to see what they considered scary. I compiled a bunch of kid friendly campfire stories and made a book that my son and sister read during the party to get the kids ready to tell their own stories.


Our guests chowed down on grub that I placed in gable boxes (each contained a juice, sandwich, and bag of chips.) The gable boxes turned out to be very useful because the kids used them to keep track of their prizes and candy throughout the day and night.

I also served “trees and berries” which were mason jars filled with a mixed berry salad. I attached paper trees to paper straws and stuck them into the hole in the mason jar lids.

I filled pretzel bags with homemade trail mix and slapped on a custom label.

Keeping with my plan to sugar the kids up I also served a variety of candy and treats including “sleeping bags” (rolled sour belts), “bear poop” (no
bake cookies), "grab your bait" (gummy worms in vending machine capsules), “acorn and twigs,” and cherry gummy bears labeled “Don’t feed the bears” (FYI - cherry gummy bears are the BOMB!!!)


 The
kids especially loved the s’mores table, which deviated from traditional
recipes by adding a variety of marshmallow, chocolate, and graham cracker
flavors. I came up with a few recipe ideas, designed a menu, and had it mounted on poster board. The kids each picked their flavors and then toasted
marshmallows under the stars.
The
kids especially loved the s’mores table, which deviated from traditional
recipes by adding a variety of marshmallow, chocolate, and graham cracker
flavors. I came up with a few recipe ideas, designed a menu, and had it mounted on poster board. The kids each picked their flavors and then toasted
marshmallows under the stars.
YUMMY! NOT! The realistic worms couldn't be any grosser (is that a word?) to watch the kids eat but they loved the reactions they got while doing it.


I was worried that the coconut marshmallows would burn but they were soooo good toasted on the fire. Seriously, if you come across coconut marshmallows buy them!

THE DECORATIONS
A few of my favorite decorations was a tent that I made for the table using a piece of white fabric and cardboard. I thought this was going to be a BEAR to make but it literally took me a few minutes. I then hung a “Gavin’s Camp Run-A-Muk” banner on it. (Hmmm... I should have ironed the fabric.)
THE DECORATIONS
A few of my favorite decorations was a tent that I made for the table using a piece of white fabric and cardboard. I thought this was going to be a BEAR to make but it literally took me a few minutes. I then hung a “Gavin’s Camp Run-A-Muk” banner on it. (Hmmm... I should have ironed the fabric.)


I also loved how the bunting turned out. There was a dead tree in my neighborhood that was about to be cut down so I helped myself to a long branch. I then hung the bunting pieces from it. Truth be told, I helped myself to a lot of dead branches from that tree to create my vision of a forest in my kitchen. My vision was a bust though!

THE CAKE
Last but least the cake! My son loved this cake (I know its hard to tell by the photo :).

Last but least the cake! My son loved this cake (I know its hard to tell by the photo :).
The fox, bear, tree, and banner are all paper. I printed and cut out the fox and bear which were design elements from the rest of the party. I also made 3-dimentional tree's that I hung the banner "Camp Gavin." Gavin decided where everything should go and thought it was hilarious to have the bear peeking into the tent. :)

Please let me know your thoughts on this party by commenting below. Is this a theme that you would or have used in the past? Thanks!
Party on!
Angie
CREDITS


